Electric fans are a great way to cool down during hot weather, but over time, they can accumulate dust, dirt, and grime. While it’s tempting to think that cleaning a fan means taking it apart, there are simple, effective ways to clean a dirty electric fan without disassembling it. In this guide, we’ll walk you through a step-by-step process to make your fan run smoothly and look great—without the hassle of disassembly.
Why Cleaning Your Electric Fan Is Important

Before we dive into the cleaning process, let’s take a moment to talk about why cleaning your electric fan is so important. Fans accumulate dust, pet hair, and other debris over time, which can reduce their performance. A dirty fan can also circulate dust around your home, affecting air quality. Regular cleaning not only helps maintain its efficiency but also prolongs the life of your fan. So, cleaning is not just about appearance—it’s about functionality too!
What You’ll Need to Clean Your Electric Fan
You don’t need any fancy tools or harsh chemicals to clean your fan. Here’s a list of common items you’ll need:
- Microfiber cloths or a soft cleaning rag
- A vacuum cleaner with a brush attachment
- A can of compressed air (optional)
- Dish soap
- A bucket of warm water
- A toothbrush or small cleaning brush
- A spray bottle (optional)
Step 1: Unplug the Fan and Position It Safely
First things first: always unplug your electric fan before you begin cleaning. This is crucial for safety reasons—accidents can happen if the fan is left plugged in while you’re cleaning it. Once unplugged, position the fan on a flat surface, like a table or countertop, to give yourself easy access to all parts of it.
Step 2: Dust the Blades and Grills
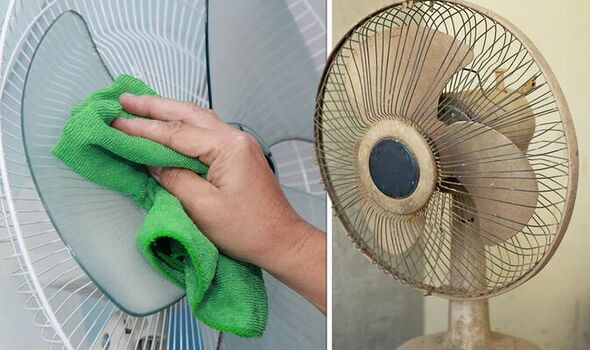
The fan blades are the parts that usually collect the most dust, but fortunately, they’re easy to clean. Start by using a microfiber cloth or soft rag to gently wipe down the blades and the grill. You may need to apply a bit of pressure if there’s a lot of built-up dust. For the grill, use a toothbrush or small brush to get into the nooks and crannies where dust likes to hide.
Pro Tip: To avoid spreading the dust, clean the blades in a downward motion. This will prevent dust from flying into the air or onto other surfaces.
Step 3: Vacuum the Fan Grills and Surrounding Areas
If you have a vacuum cleaner with a brush attachment, use it to clean around the fan’s grill. Gently run the brush over the fan’s exterior, removing any loose dust and dirt that might have gathered. The vacuum can also help clean the fan’s motor housing and base. Be gentle around these areas, as a vacuum’s powerful suction might damage delicate components.

Step 4: Clean the Fan Blades with Soapy Water
Next, it’s time to clean the fan blades. Mix a small amount of dish soap with warm water in a bucket or container. Dampen your microfiber cloth or rag with the soapy water and gently wipe the blades. Be sure not to oversaturate the cloth, as excess water could drip into the motor housing and cause electrical issues. Once the blades are clean, use a dry cloth to wipe them down and remove any leftover moisture.
Step 5: Use Compressed Air for a Deep Clean
If your fan still looks dusty after using the cloth and vacuum, consider using compressed air to blast any remaining dirt from hard-to-reach areas. Hold the can of compressed air a few inches away from the fan and spray in short bursts. This will help remove dust and debris from areas like the motor housing, grills, and behind the blades.
Step 6: Wipe Down the Entire Fan
Once you’ve cleaned the blades and grills, it’s time to give the entire fan a quick once-over. Take your damp microfiber cloth and wipe down the base, stand, and motor housing. If necessary, dip your cloth in soapy water again, but be sure to wring it out well so it’s just damp, not soaking wet. Dry all parts of the fan thoroughly with a dry cloth.

Step 7: Reassemble and Test
Once the fan is completely dry, you can place it back in its normal position and plug it in. Turn the fan on to test if it’s working properly. You should notice that it’s running more smoothly, and it should be much quieter and more efficient.
Additional Tips for Maintaining a Clean Fan
To keep your fan in top shape, regular maintenance is key. Here are a few extra tips to help maintain its cleanliness:
- Clean Your Fan Regularly: Set a reminder to clean your fan every few weeks or at least once a month. The longer you wait, the more dust and dirt will accumulate, making the cleaning process more difficult.
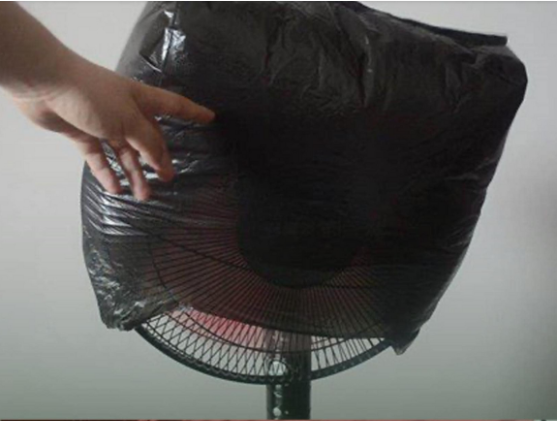
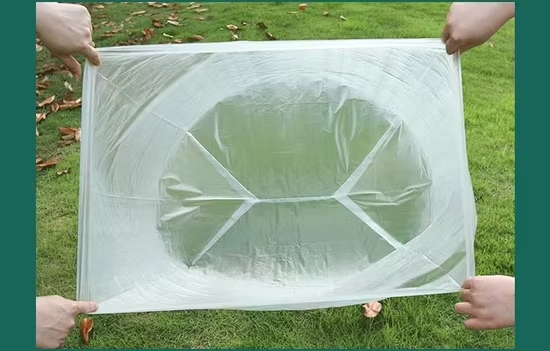
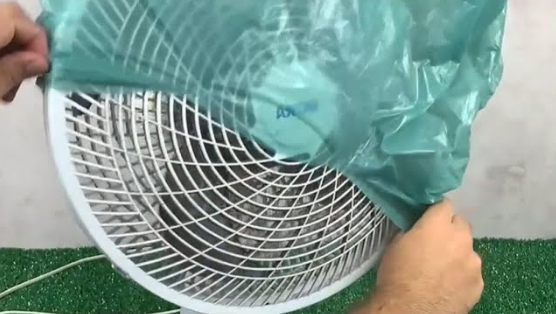
- Use a Fan Cover: If you don’t plan to use the fan for an extended period, consider using a fan cover to keep it dust-free.
- Keep the Area Clean: The area where you place your fan should be kept clean to reduce the amount of dust it picks up. If you have pets, try to place the fan in a less dusty location.
Conclusion: Simple Steps for a Cleaner, Efficient Fan

Cleaning your electric fan doesn’t have to be a complicated process, and you don’t need to disassemble it to get great results. By following these easy steps, you can enjoy a cleaner, more efficient fan that not only keeps you cool but also improves the air quality in your home. With just a little time and effort, your fan will be running like new again—without the hassle of taking it apart! So go ahead, grab your microfiber cloth and give your fan a much-needed refresh today.


